
Presenting a quick case study of the process i went through to create this piece I've dubbed while working on it, "Soldier Boy's Descent", where he rebelliously jumps from the roof of a tall building to say 'see ya' to enemies who thought they otherwise had him. Or do a big splash exit after saving the night. Well heres how it went:

Started with 8.5x11 canvas per usual w/ .125 bleeds included (so a 8.75 x 11.25 canvas), sketched loosely figured out the perspective angle i wanted and the veneral pose/ layout.

Articulated some tight sketch enough to ink over and to send a proof to the customer, at this point i just blocked out the building to render in the inking stage.

Sketch approved I get inking, and knock the pencils to a very low-transparency and ink the character, using straight edge tool for big straight objects like this staff, and later the entire background

I make a quick fill mask of the figure so i know generaly his place over the background, and set that to very low transparency. With the figure inks turned off, i make a new layer, and render the background with pen tool and brush tools. The street level i purposely just suggest cars and a median with trees and light posts as the lack of articulation and detail simulates blurred focus putting more depth and focus on the figure.

I make a white flat layer behind the figure to seperate him from the background and later will use it to put colors behind the lineart. The figure and background are inked on different layers so i can later set the lineart of the background to a lighter color than black to make it set back and increase the depth as well as the focus on the character

Again, turning off the character ink lines and just using the flat color on a low opacity so that i can tell where he generaly was and not worry about spending a lot of time on details behind him, I make a layer under the background lineart and color it up! Good to use photo reference via google or what not to get it at least semi accurate. Little things like how theres a blunt end to the lighting from the street at the top edge of the building and it proceeds to reflect the sky not the street (hence the dark blue huges for the tops) and how in most photos, the contrast of any lights with the dark of the night causes it to bleed a bit and be extra 'glowy'. Also, a little reference for the movement of car head and taillights on low shutter speed was helpful.

Background done, I generaly know there will be orangy/yellowy light coming from the street and the moon lit lighting coming from the sky, so there are two sources of light to portray on the figure. I start by using that flat layer behind the figures lineart, and start seperating the flat colors of his jacket, pants, belts and boots and skin. Then on a layer above that i use an adjustment layer after selecting the entire figure, and fill it blue, and use layer modes to get a general desaturation effect that one gets at night, where colors are much more muted and almost black and white. I select areas that i want the shadows to fall on, using curves and being noteful of the shape of the object i'm doing the shading on. Then i add another layer overtop and select highlight areas from the street below, and another layer to do highlight areas of the moon light. I'll sometimes (as in this case) take one of the highlight layers and copy it, move it ontop of the lineart and set a gaussian blur to it to create a glow/ sheen effect. Play with the transparency at that point to get it as subtle or bold as you want.

Turning the character and background lineart layers off and turning on all other layers is a good way to check for any color blemishes and check the lighting without the hard lines skewing the view of them. Everything looks good!
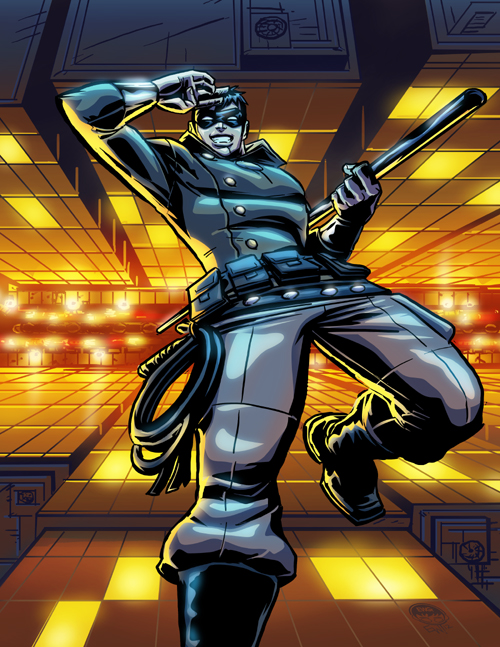
And here we have the finished art, at this point i save the psd version, then flatten it and save a jpg version, and then i have an action set to crop to an even 8.5x11 from all sides, (trimming off the bleed) and its ready to send to the customer! I also have an action set to save a lowres 500px wide 72dpi which i use for anything i'm going to post online on deviant art or this website.
Hope you enjoyed this casestudy, and walk through. Maybe you learned something? Maybe not? Anyways thank you for looking and taking the time to study it a little :) I appreciate the interest in what I do!


